
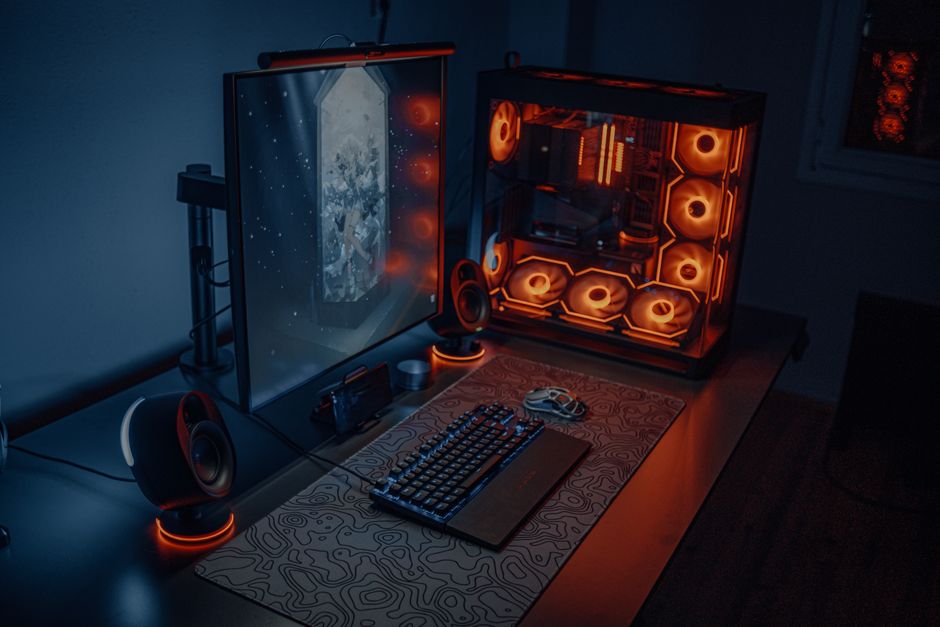
In the ever-evolving world of gaming, having the right equipment can make all the difference. Among the most critical components is the gaming PC, which serves as the foundation for an immersive gaming experience. Building your own gaming PC not only allows for customization but also ensures that you can optimize your system for the games you love. This guide will walk you through the essential components, considerations, and steps involved in becoming a proficient gaming PC builder.
Understanding the Basics of PC Building
Before diving into the specifics of parts and assembly, it’s important to grasp the fundamental concepts of PC building. A gaming PC comprises various components, each serving a unique role. The main components include the CPU (Central Processing Unit), GPU (Graphics Processing Unit), RAM (Random Access Memory), storage drives, and the motherboard. Understanding how these components interact with one another is crucial for ensuring compatibility and performance.
For instance, the CPU is often referred to as the brain of the computer, handling all the processing tasks. The GPU, on the other hand, is responsible for rendering images and graphics, a vital aspect for any gaming experience. Knowing how to balance these components based on your gaming needs is essential.
Moreover, it is important to consider power supply units (PSUs) and cooling systems, which can significantly affect the overall performance and longevity of your gaming rig. An efficient PSU ensures stable power delivery, while a good cooling system maintains optimal temperatures during intense gaming sessions.
Selecting Your Components Wisely
Choosing the right components can be overwhelming due to the sheer number of options available. Start by determining your budget, as this will help narrow down your choices. High-end components can provide superior performance, but there are also budget-friendly options that can deliver excellent gaming experiences.
When selecting a CPU, consider the number of cores and clock speed, as these factors impact performance in various gaming titles. Popular options include AMD Ryzen and Intel Core processors, which cater to different performance needs.
The GPU is arguably the most critical aspect for gamers. Brands like NVIDIA and AMD offer a range of graphics cards that cater to different performance levels. Ensure your selected GPU aligns with the resolution and frame rates you wish to achieve in your games. For those looking to game at 4K resolution, investing in a high-end GPU is a must.
For memory, 16GB of RAM is generally recommended for gaming, while 32GB may be preferred for more demanding applications or multitasking. Additionally, consider the speed of your RAM, as this can impact overall performance.
Don’t forget about storage options. Traditional HDDs offer more space for less, while SSDs provide faster load times. A combination of both can offer the best of both worlds. Utilizing an SSD for your operating system and frequently played games can significantly enhance your gaming experience.
Assembly: Bringing Your Components Together
Once you’ve selected your components, the next step is assembly. This process can seem daunting, but with careful planning and a bit of patience, it can be a rewarding experience. Start by preparing your workspace, ensuring you have adequate lighting and tools like screwdrivers and cable ties.
Begin with the motherboard, installing the CPU and RAM first. Ensure you follow the manufacturer’s instructions for proper alignment and securing. Next, install the CPU cooler, which is essential for maintaining optimal temperatures during operation.
Once the CPU is secured, mount the motherboard into the case. This may require standoffs, which help prevent short circuits. After securing the motherboard, install the power supply and connect the cables to the respective components, ensuring neat cable management for better airflow.
Finally, install the GPU and any additional storage drives. Once everything is connected, it’s time to power on your gaming PC. Monitor for any issues during the boot process, and if all goes well, you’ll be greeted with the operating system.
As a tip, utilizing a website like gaming PC builder can help you ensure compatibility between components and provide helpful build guides.
Testing and Optimizing Your Build
After assembling your gaming PC, the next step is testing and optimization. Ensure that all components are functioning correctly by running diagnostic software that checks for stability and performance. Benchmarking tools can provide insights into how your build performs under load, allowing you to identify any potential bottlenecks.
Additionally, consider tweaking settings such as fan speeds and overclocking for the CPU and GPU. Overclocking can provide a performance boost, but it’s crucial to monitor temperatures closely to avoid overheating.
Keep your drivers updated, as manufacturers frequently release updates that enhance performance and fix bugs. This is especially true for GPU drivers, which can significantly impact gaming performance.
Conclusion: The Joy of Building Your Own Gaming PC
Building your own gaming PC can be a fulfilling endeavor that not only enhances your gaming experience but also provides a better understanding of technology. With the right components and careful assembly, you can create a system that meets your specific gaming needs. Whether you are a casual gamer or a competitive player, having a personalized gaming rig can make all the difference. Embrace the challenge, and enjoy the journey of becoming a gaming PC builder!